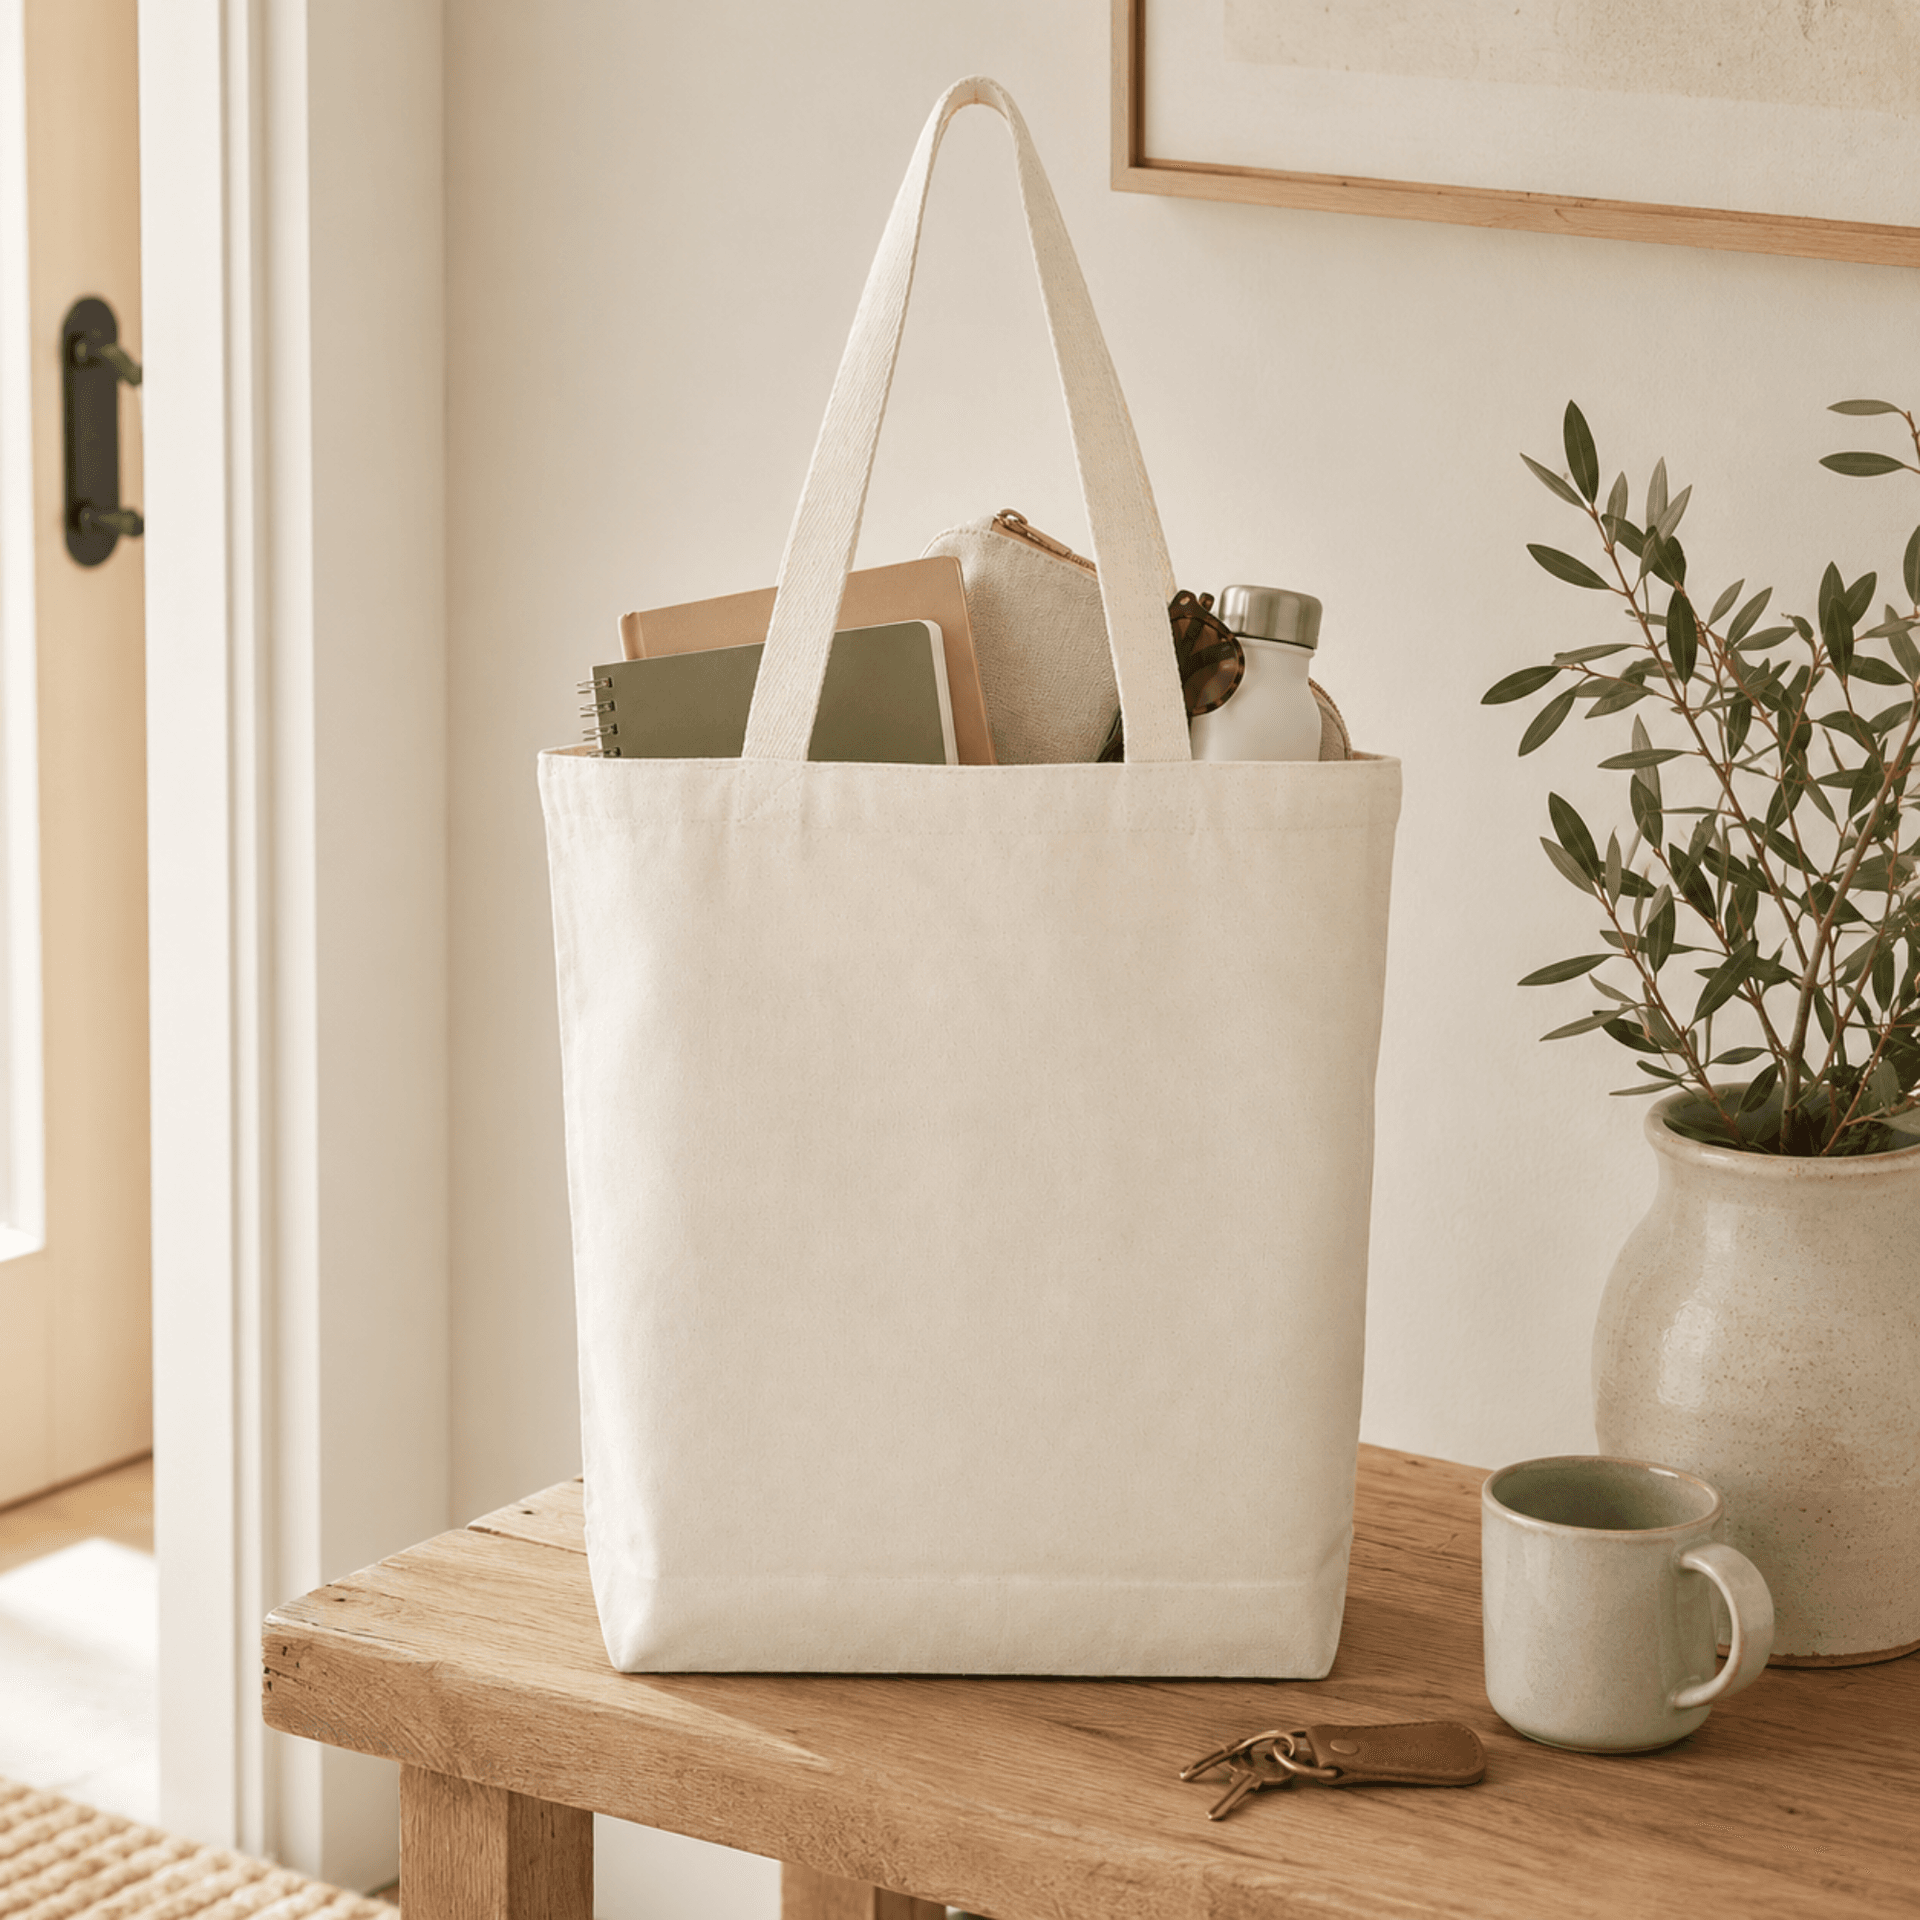
Blank canvas tote bags are the number one substrate for decorators, and for good reason. Cotton canvas is cheap at volume, takes ink and thread beautifully, comes in natural undyed shades that make artwork pop, and sells year-round to every kind of customer. Whether you run a screen-printing shop, an embroidery studio, or a DTF side business, blank canvas totes are the easiest high-margin blank you can stock. But a tote that prints like a dream and a tote that fights you at every pull of the squeegee can look identical on a product page. This buyer's guide covers the four decisions — weight, size and color, quantity, and prep — that separate the two.
The appeal of canvas over cheaper poly-cotton or non-woven totes comes down to the surface. Natural cotton canvas is firm, flat, and dense, which is exactly what every decoration method wants: ink sits on top instead of soaking in unevenly, embroidery thread has something solid to bite into, and heat-transfer film bonds flush against a smooth face. That same density is why a well-chosen canvas blank photographs and sells as a premium finished product, letting you charge a margin that thin promotional totes never support. Get the blank right and the decoration almost takes care of itself; get it wrong and you'll fight registration, ink wicking, and puckering on every bag in the run.
Step 1 — Choose the Right Canvas Weight for Your Print Method
Weight is the first and most important call, because the ideal canvas weight depends on how you plan to decorate the bag. Heavier, tighter weaves give every decoration method a flatter, more stable surface. Here's how the common methods break down.
Screen Printing
For screen printing, treat 10oz as your minimum and 12oz as the recommendation. Below 10oz the weave is loose enough that fibers lift into the ink, blurring fine lines and small text. A 12oz canvas gives the squeegee a dense, flat bed so solid fills stay even and detail stays crisp, even across multiple colors. If you're printing anything beyond a simple one-color logo, 12oz pays for itself in reduced reprints.
Embroidery
Embroidery wants 12oz with a tight weave. Stitches need a dense base to anchor into — on thin canvas the thread pulls the fabric in, puckering the design and leaving a sloppy finish. A heavy, tightly woven 12oz tote holds the stitch count flat and keeps logos looking sharp and professional, which is exactly what embroidery customers are paying for.
DTF / Heat Transfer
For DTF and heat transfer, 10–12oz works well, with a smooth, tightly woven surface strongly preferred. The transfer film needs even contact and consistent heat and pressure to bond fully; a loose or slubby weave leaves gaps where the print can crack or peel. A smooth 12oz canvas gives the flattest, most reliable bond and the best wash durability.
Step 2 — Choose the Right Size and Color
Size determines how much artwork you can show and what the bag can carry; color determines how your print reads. On color, the rule is simple: standard natural, undyed canvas is the best choice for print visibility. The warm off-white background makes most ink colors pop, works for nearly every brand palette, and costs less than dyed canvas because it skips a processing step. Black and colored canvas have their place for specific brand looks, but natural is the safe, versatile default for decorators stocking blanks.
On size, match the bag to the job and the artwork. A compact tote suits a small left-chest logo and light retail use; a large gusseted tote gives you a full billboard for big front-and-back prints and carries real weight. The table below maps common tote sizes to usable print area so you can pick the right canvas for your designs.
| Tote Size | Dimensions | Usable Print Area | Best For |
|---|---|---|---|
| Compact | 13" x 13", no gusset | ~9" x 9" single-side | Small logos, book bags, lightweight retail totes |
| Standard | 15" x 16", shallow gusset | ~11" x 12" single-side | Event bags, everyday reusable totes, front-chest branding |
| Large / gusseted | 15" x 16" x 3" gusset | ~12" x 13" front, full back panel | Big full-panel prints, grocery and shopper totes, premium swag |
Step 3 — Order Blank Totes in the Right Quantity
Decorating blanks is a volume game: your per-unit cost falls as your order grows, and so does your margin. Most suppliers set a minimum order quantity in the 25–50 unit range for blank canvas totes, with meaningful price breaks at 100, 250, and 500+ units. If you're printing for a client with a fixed run, order to that number plus a small buffer for setup misprints. If you're stocking blanks to sell decorated pieces on your own schedule, buy into the next price tier when you can — the lower per-unit cost widens your margin on every bag you print.
Build a spoilage buffer into every quantity you order. Screen-printing setup, color registration, and the first few pulls of a run routinely sacrifice a bag or two, embroidery can shred a bag if a hoop slips, and DTF transfers occasionally lift unevenly. A good rule of thumb is to add roughly five to ten percent on top of the client's firm number so a handful of misprints never leaves you short of the committed quantity. Buying one tier up also protects you here: the price break often covers the cost of the extra bags outright, so your spoilage buffer is effectively free while your blended cost per usable bag drops.
You can see live quantity pricing and specs for 12oz blanks on our blank canvas tote bags wholesale page, where the per-unit rate steps down as your order size increases.
Step 4 — Prep Your Totes Before Printing
A little prep prevents the most common decorating failures. For embroidery, and for any method where final dimensions matter, pre-wash the totes so the canvas does its first-wash shrink before you decorate — otherwise your design distorts the first time the customer launders the bag. Press or iron each tote flat before it goes on the platen or hoop; wrinkles and fold lines throw off registration and leave gaps in the print.
Consistent placement is the other half of a clean run. Totes arrive folded, and the center of the printable panel isn't always where the eye assumes it is, so a reusable placement template or jig that marks your top and side margins keeps every bag identical from the first to the last. Slide a smooth, firm board or a sheet of Teflon inside the bag before you print so ink and transfer adhesive can't bleed through to the back panel, and always run one bag from each batch as a test — checking cure, hand feel, and registration — before you commit the full order. Five minutes of prep per batch saves far more than it costs in reprints and reputation.
- Pre-wash and dry totes before embroidery or any size-critical job so shrinkage happens before decoration
- Iron or heat-press each bag flat to remove fold lines before printing
- Mark consistent stencil and hoop placement with a template or jig so every bag matches
- Load a smooth, firm board inside the bag so ink or transfer doesn't bleed to the back panel
- Test one bag from each batch before running the full order
Where to Source Blank Canvas Tote Bags
For a dependable decorating blank, our 12oz NOVASTILE blank canvas tote bags give you the tight, smooth weave that screen printing and embroidery need, and you can price them at volume on the bulk canvas tote bags page.
Decorating with film instead of screens? Our guide to heat transfer on canvas tote bags covers the weight, surface, and pressing settings that give DTF prints the best bond and wash durability.